OSvCNode
A Node library for using the Oracle Service Cloud REST API influenced by the ConnectPHP API

![]()
![]()

Installing Node (for Windows)
This link has installation downloads for both Node and NPM.
This link has instructions for adding Node to your PATH.
Make sure to install Windows Build Tools if you are using Windows 10. This is not something necessarily needed to run this package, but it will help with Node development on Windows in general.
Installation
Install with npm:
$ npm install osvc_node -g
Compatibility
The library is tested against Oracle Service Cloud 18A using Node v8.9.1
All of the HTTP methods should work on any version of Oracle Service Cloud since version May 2015; however, there maybe some issues with querying items on any version before May 2016. This is because ROQL queries were not exposed via the REST API until May 2016.
Basic Usage
The features that work to date are as follows:
- HTTP Methods
- For creating objects and uploading one or more file attachments, make a POST request with the OSvCNode.Connect Object
- For reading objects and downloading one or more file attachments, make a GET request with the OSvCNode.Connect Object
- For updating objects, make a PATCH request with the OSvCNode.Connect Object
- For deleting objects, make a DELETE request with the OSvCNode.Connect Object
- For looking up options for a given URL, make an OPTIONS request with the OSvCNode.Connect Object
- Running ROQL queries either 1 at a time or multiple queries in a set
- Running Reports
- Optional Settings
Here are the spicier (more advanced) features:
- Bulk Delete
- Running multiple ROQL Queries concurrently
- Performing Session Authentication
- Using osvc_node in the browser
Authentication
An OSvCNode.Client class lets the library know which credentials and interface to use for interacting with the Oracle Service Cloud REST API. This is helpful if you need to interact with multiple interfaces or set different headers for different objects.
// Configuration is as simple as requiring the package// and passing in an object const {Client} = require('osvc_node');const env = process.env; // Configuration Clientvar rnClient = Client({ // Interface to connect with interface: env['OSC_SITE'], // Basic Authentication username: env['OSC_ADMIN'], password: env['OSC_PASSWORD'], // Session Authentication // session: <session ID>, // OAuth Token Authentication // oauth: <oauth token>, // Optional Client Settings demo_site: true, // Changes domain from 'custhelp' to 'rightnowdemo' version: 'v1.4', // Changes REST API version, default is 'v1.3' no_ssl_verify: true, // Turns off SSL verification suppress_rules: true, // Supresses Business Rules suppress_events: true, // Supresses External Events suppress_all: true, // Supresses both Business Rules and External Events access_token: "My access token" // Adds an access token to ensure quality of service }); Optional Settings
In addition to a client to specify which credentials, interface, and CCOM version to use, you will need to create an options object to pass in the client as well as specify any additional parameters that you may wish to use.
Here is an example using the client object created in the previous section:
const {Client, Connect} = require('osvc_node');const env = process.env; // Configuration Clientvar rnClient = Client({ interface: env['OSC_SITE'], username: env['OSC_ADMIN'], password: env['OSC_PASSWORD'],}); var options = { // set the client for the request client: rnClient, // Adds a custom header that adds an annotation (CCOM version must be set to "v1.4" or "latest"); limited to 40 characters annotation: "Custom annotation", // Prints request headers for debugging debug: true, // Adds a custom header to excludes null from results; for use with GET requests only exclude_null: true, // Number of milliseconds before another HTTP request can be made; this is an anti-DDoS measure next_request: 500, // Sets 'Accept' header to 'application/schema+json' schema: true, // Adds a custom header to return results using Coordinated Universal Time (UTC) format for time (Supported on November 2016+ utc_time: true } HTTP Methods
To use various HTTP Methods to return raw response objects, use the "Connect" object
POST
//// OSvCNode.Connect.post(options)//// returns a Promise // Here's how you could create a new ServiceProduct object// using Node variables and objects (sort of like JSON) const {Client, Connect} = require('osvc_node');const env = process.env; // Create an OSvCNode.Client objectvar rnClient = Client({ username: env['OSC_ADMIN'], password: env['OSC_PASSWORD'], interface: env['OSC_SITE'], demo_site: true}); // JSON object// containing data// for creating// a new product var newProduct = { 'names': [{ 'labelText': 'newProduct', 'language': { 'id': 1 } }], 'displayOrder': 4, 'adminVisibleInterfaces': [{ 'id': 1 }], 'endUserVisibleInterfaces': [{ 'id': 1 }]}; var options = { client: rnClient, url:'serviceProducts', json: newProduct} Connect.post(options).then((res)=>{ console.log(res)}).catch(function (error) { console.log(error);}); GET
//// OSvCNode.Connect.get(options)//// returns a Promise// Here's how you could get an instance of ServiceProducts const {Client, Connect} = require('osvc_node');const env = process.env; // Create an OSvCNode.Client objectvar rnClient = Client({ username: env['OSC_ADMIN'], password: env['OSC_PASSWORD'], interface: env['OSC_SITE'], demo_site: true}); var options = { client: rnClient, url:'serviceProducts/168'}; Connect.get(options).then((res)=>{ console.log(res)}).catch(function (error) { console.log(error);});PATCH
//// OSvCNode.Connect.patch(options)//// returns a Promise// Here's how you could update an Answer object// using JSON objects// to set field information const {Client, Connect} = require('osvc_node');const env = process.env; // Create an OSvCNode.Client objectvar rnClient = Client({ username: env['OSC_ADMIN'], password: env['OSC_PASSWORD'], interface: env['OSC_SITE'], demo_site: true}); // JSON Object// With data for updatingvar productUpdated = { 'name': [{ 'labelText': 'newProduct UPDATED', 'language': { 'id': 1 } }]}; var patchOptions = { client: rnClient, url:'serviceProducts/170', json: productUpdated} Connect.patch(patchOptions).then((res)=>{ console.log(res)}).catch(function (error) { console.log(error);}); DELETE
//// OSvCNode.Connect.delete(options)//// returns a Promise// Here's how you could delete a serviceProduct object const {Client, Connect} = require('osvc_node');const env = process.env; // Create an OSvCNode.Client objectvar rnClient = Client({ username: env['OSC_ADMIN'], password: env['OSC_PASSWORD'], interface: env['OSC_SITE'], demo_site: true}); var deleteOptions = { client: rnClient, url: "incidents/24922"} Connect.delete(deleteOptions).then((res)=>{ console.log(res)}).catch(function (error) { console.log(error);}); OPTIONS
//// OSvCNode.Connect.options(options)//// returns headers object or a raw Response object on error// Here's how you can fetch options for incidents const {Client, Connect} = require('osvc_node');const env = process.env; // Create an OSvCNode.Client objectvar rnClient = Client({ username: env['OSC_ADMIN'], password: env['OSC_PASSWORD'], interface: env['OSC_SITE'], demo_site: true}); var checkOptions = { client: rnClient, url: "incidents"} Connect.options(checkOptions).then((res)=>{ console.log(res)}).catch(function (error) { console.log(error);}); Uploading File Attachments
In order to upload a file attachment, add a "files" property to your options object with an array as it's value. In that array, input the file locations of the files that you wish to upload relative to where the script is ran.
const {Client, Connect} = require('osvc_node');const env = process.env; let postUploadOptions = { client: new Client({ username: env['OSC_ADMIN'], password: env['OSC_PASSWORD'], interface: env['OSC_SITE'], demo_site: true, }), url: 'incidents', json: { "primaryContact": { "id": 2 }, "subject": "FishPhone not working" }, files :[ './haQE7EIDQVUyzoLDha2SRVsP415IYK8_ocmxgMfyZaw.png', ],} Connect.post(postUploadOptions).then(function(res){ console.log(res);}).catch(function(err){ console.log(err);}) Downloading File Attachments
In order to download a file attachment, add a "?download" query parameter to the file attachment URL and send a get request using the OSvCNode.Connect.get method. The file will be downloaded to the same location that the script is ran.
const {Client, Connect} = require('osvc_node');const env = process.env; let getDownloadOptions = { client: new Client({ username: env['OSC_ADMIN'], password: env['OSC_PASSWORD'], interface: env['OSC_SITE'], }), url: 'incidents/24898/fileAttachments/245?download'} Connect.get(getDownloadOptions).then(function(res){ console.log(response)}).catch(function(err){ console.log(err);}) In order to download multiple attachments for a given object, add a "?download" query parameter to the file attachments URL and send a get request using the OSvCNode.Connect.get method.
All of the files for the specified object will be downloaded and archived in a .tgz file.
const {Client, Connect} = require('osvc_node');const env = process.env; let getDownloadOptions = { client: new Client({ username: env['OSC_ADMIN'], password: env['OSC_PASSWORD'], interface: env['OSC_SITE'], }), url: 'incidents/24898/fileAttachments?download'} Connect.get(getDownloadOptions).then(function(res){ console.log(response)}).catch(function(err){ console.log(err);}) You can extract the file using tar
$ tar -xvzf ./downloadedAttachment.tgz
OSvCNode.QueryResults example
This is for running one ROQL query. Whatever is allowed by the REST API (limits and sorting) is allowed with this library.
OSvCNode.QueryResults only has one function: 'query', which takes an OSvCNode.Client object and string query (example below).
const {Client, QueryResults} = require('osvc_node');const env = process.env; var rnClient = Client({ username: env['OSC_ADMIN'], password: env['OSC_PASSWORD'], interface: env['OSC_SITE'],}); var options = { client: rnClient, query: `DESCRIBE CONTACTS`} QueryResults.query(options).then(data =>{ console.log(data)}).catch(err => { console.log(err);}); OSvCNode.QueryResultsSet example
This is for running multiple queries and assigning the results of each query to a key for further manipulation.
OSvCNode.QueryResultsSet only has one function: 'query_set', which takes an OSvCNode.Client object and multiple query hashes (example below).
// Pass in each query into a hash// set query: to the query you want to execute// set key: to the value you want the results to of the query to be referenced to const { Client, QueryResultsSet } = require('osvc_node');const env = process.env; var rnClient = Client({ username: env['OSC_ADMIN'], password: env['OSC_PASSWORD'], interface: env['OSC_SITE'],}); var multipleQueries = [ { query:"DESCRIBE ANSWERS", key: "answerSchema" }, { query:"SELECT * FROM ANSWERS LIMIT 1", key: "answers" }, { query:"DESCRIBE SERVICECATEGORIES", key: "categoriesSchema" }, { query:"SELECT * FROM SERVICECATEGORIES", key:"categories" }, { query:"DESCRIBE SERVICEPRODUCTS", key: "productsSchema" }, { query:"SELECT * FROM SERVICEPRODUCTS", key:"products" }]; var options = { client: rnClient, queries: multipleQueries} QueryResultsSet.query_set(options).then(data=>{ console.log(data.answerSchema); console.log(data.answers); console.log(data.categoriesSchema); console.log(data.categories); console.log(data.productsSchema); console.log(data.products);}) // Results for "DESCRIBE ANSWERS"// // [// {// "Name": "id",// "Type": "Integer",// "Path": ""// },// {// "Name": "lookupName",// "Type": "String",// "Path": ""// },// {// "Name": "createdTime",// "Type": "String",// "Path": ""// }// ... everything else including customfields and objects...// ] // Results for "SELECT * FROM ANSWERS LIMIT 1"// // [// {// "id": 1,// "lookupName": 1,// "createdTime": "2016-03-04T18:25:50Z",// "updatedTime": "2016-09-12T17:12:14Z",// "accessLevels": 1,// "adminLastAccessTime": "2016-03-04T18:25:50Z",// "answerType": 1,// "expiresDate": null,// "guidedAssistance": null,// "keywords": null,// "language": 1,// "lastAccessTime": "2016-03-04T18:25:50Z",// "lastNotificationTime": null,// "name": 1,// "nextNotificationTime": null,// "originalReferenceNumber": null,// "positionInList": 1,// "publishOnDate": null,// "question": null,// "solution": "<HTML SOLUTION WITH INLINE CSS>",// "summary": "SPRING IS ALMOST HERE!",// "updatedByAccount": 16,// "uRL": null// }// ] // Results for "DESCRIBE SERVICECATEGORIES"// // [// ... skipping the first few ... // {// "Name": "adminVisibleInterfaces",// "Type": "SubTable",// "Path": "serviceCategories.adminVisibleInterfaces"// },// {// "Name": "descriptions",// "Type": "SubTable",// "Path": "serviceCategories.descriptions"// },// {// "Name": "displayOrder",// "Type": "Integer",// "Path": ""// },// {// "Name": "endUserVisibleInterfaces",// "Type": "SubTable",// "Path": "serviceCategories.endUserVisibleInterfaces"// },// ... everything else include parents and children ...// ] // Results for "SELECT * FROM SERVICECATEGORIES"// // [// {// "id": 3,// "lookupName": "Manuals",// "createdTime": null,// "updatedTime": null,// "displayOrder": 3,// "name": "Manuals",// "parent": 60// },// {// "id": 4,// "lookupName": "Installations",// "createdTime": null,// "updatedTime": null,// "displayOrder": 4,// "name": "Installations",// "parent": 60// },// {// "id": 5,// "lookupName": "Downloads",// "createdTime": null,// "updatedTime": null,// "displayOrder": 2,// "name": "Downloads",// "parent": 60// },// ... you should get the idea by now ...// ] OSvCNode.AnalyticsReportsResults
You can create a new instance either by the report 'id' or 'lookupName'.
OSvCNode.AnalyticsReportsResults only has one function: 'run', which takes an OSvCNode.Client object.
Pass in the 'id', 'lookupName', and 'filters' in the options data object to set the report and any filters.
const {Client, AnalyticsReportResults} = require('osvc_node');const env = process.env; var rnClient = Client({ username: env['OSC_ADMIN'], password: env['OSC_PASSWORD'], interface: env['OSC_SITE'],}); var options = { client: rnClient, json: {id: 176, limit: 1, filters:[{ name: "search_ex", values: ['returns']}]},} AnalyticsReportResults.run(options).then((results) => { results.map((result)=>{ console.log(`Columns: ${Object.keys(result).join(", ")}`); console.log(`Values: ${Object.values(result).join(", ")}`); })}).catch((error)=>{ console.log(error);}) Bulk Delete
This library makes it easy to use the Bulk Delete feature within the latest versions of the REST API.
You can either use a QueryResults or QueryResultsSet object in order to run bulk delete queries.
Before you can use this feature, make sure that you have the correct permissions set up for your profile.
Here is an example of the how to use the Bulk Delete feature:
const {Client, QueryResults} = require('osvc_node');const env = process.env; var rnClient = Client({ username: env['OSC_ADMIN'], password: env['OSC_PASSWORD'], interface: env['OSC_SITE'], version: "latest"}); var options = { client: rnClient, query: `DELETE FROM INCIDENTS LIMIT 10`, annotation: "Delete example"} QueryResults.query(options).then(data =>{ console.log(data)}).catch(err => { console.log(err);});Performing Session Authentication
- Create a custom script with the following code and place in the "Custom Scripts" folder in the File Manager:
- Create a node script similar to the following and it should connect:
// Require necessary librariesconst {Client, Connect} = require('osvc_node');const axios = require('axios');const env = process.env; // Create an asynchronous function to grab the session dataconst fetchSessionId = async () =>{ try{ let result = await axios.get(`https://${env['OSC_SITE']}.custhelp.com/cgi-bin/${env['OSC_CONFIG']}.cfg/php/custom/login_test.php?username=${env['OSC_ADMIN']}&password=${env['OSC_PASSWORD']}`); return result.data.session_id; }catch(err){ console.log(err); return; }} // Create an asynchronous function to make a get request for the URL that you wish to fetch data fromconst getRequest = async (url) => { let finalUrl = url == undefined ? '' : url; let sessionID = await fetchSessionId(); let options = { client: new Client({ session: sessionID, interface: env['OSC_SITE'], url: finalUrl }), }; return await Connect.get(options);} // Run the function; it will return a promise based on whether the connection worked or notgetRequest('incidents').then( data=>{ console.log(data);}).catch( err=>{ console.log(err);})Using osvc_node in the browser
-
In order to use osvc_node in the browser, you must have browserify and osvc_node installed on your computer.
$ npm install -g browserify osvc_node -
Next, you will need to run the following commands:
$ browserify -r osvc_node > path/to/name_of_file.js
A file will be created in the file location that you specified in the last command.
- In a HTML file, you can require osvc_node in the following way:
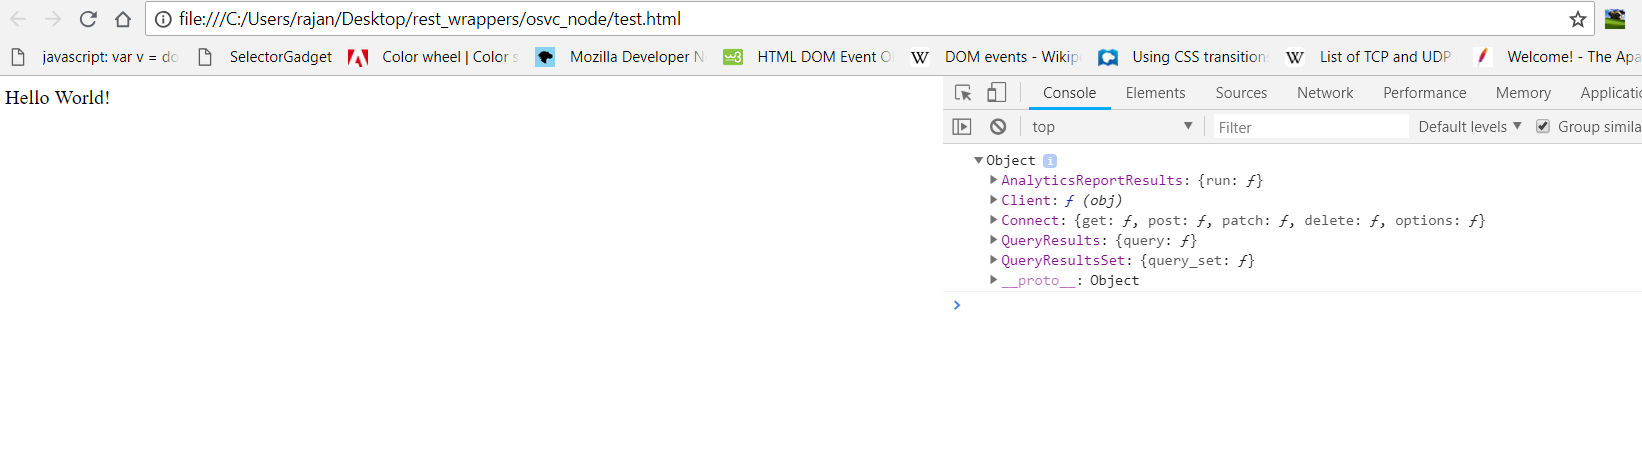
Hello World! - Once you open the html file or host it on a server, you will see the following in the console:
Please note, if you are trying to run this script on your local computer or on a server with a different domain than the interface that you wish to connect with, you will need to enable CORS in a config setting.
Running multiple ROQL Queries concurrently
Instead of running multiple queries in with 1 GET request, you can run multiple GET requests and combine the results by adding a "concurrent" property to the options object.
const { Client, QueryResultsSet } = require('osvc_node');const env = process.env; var rnClient = Client({ username: env['OSC_ADMIN'], password: env['OSC_PASSWORD'], interface: env['OSC_SITE'],}); var multipleQueries = [ { query:"DESCRIBE ANSWERS", key: "answerSchema" }, { query:"SELECT * FROM ANSWERS LIMIT 1", key: "answers" },]; var options = { client: rnClient, queries: multipleQueries, concurrent: true} QueryResultsSet.query_set(options).then(data=>{ console.log(data.answerSchema); console.log(data.answers);})License
